Hello to you all its time to think about all those jobs that need to be done to your bus......let me know and i be happy to quote for any trimming needed. Well bellow is some update on a bus that i worked on the front door cards and fitting of IKEA micro kitchen units, i hope you like .

This is the bus ready for me to get stuck in.......

This is a picture showing the rock and roll bed fitted and in place....there are some more pictures in detail of this bed being done in an earlier blog.

allowing the rock and roll bed to be used.....

The IKEA units made up and fitted in to the bus.....a very cost effective way of having top quality units which fit very easily .......

As you can see the rock and roll bed out in all its glory....ready for the shows .

A closer picture showing the table... note.... you can see the hing joint on the left side.... also you can see the folding table leg...very neat.

A birds eye view showing how important it is to get the upholstery all lined up.

This shows a add on which the customer asked for.... in blue at both sides a pocket for there phones and bits when in bed.....nice....

Striped back to the bones....... the floor was already down so a good clean and ready to go....You can see the new Blue Bird Kustoms rock and roll bed fitted with new seat belts.

All the units arrive....now the fun begins.....wares the instructions...lol

There we go the first unit being put together and trial fitted, always double cheek as mistakes can be costly as i found out .

The unit in place and you can see the sink bowl ready to be fitted with the pump and drain all fitting in the one cupboard. A jump in picks to the door cards which the customer asked for to be done in the same style as the bed.

The finished look.....looking cool and with those speakers cruising with sounds..........

I treated the inside of the door with a waxol treatment ...silly not to as how often do the door cards ever come off..............

Here is a picture showing the door card almost done... ready for the final stapling and new fixing clips.

Here you can see me sewing the plain boarder to the tuck and roll panel, note the stitch line to help sew too makes the job much easier.

The second door panel all cut and ready to be sew together.

This is were you can see me marking out were the stitch line goes to make the tuck and roll.

This shows the seat of the rock and roll bed being fitted....looking good. PEW......

A close up picture showing the piping just sewn to the top panel.
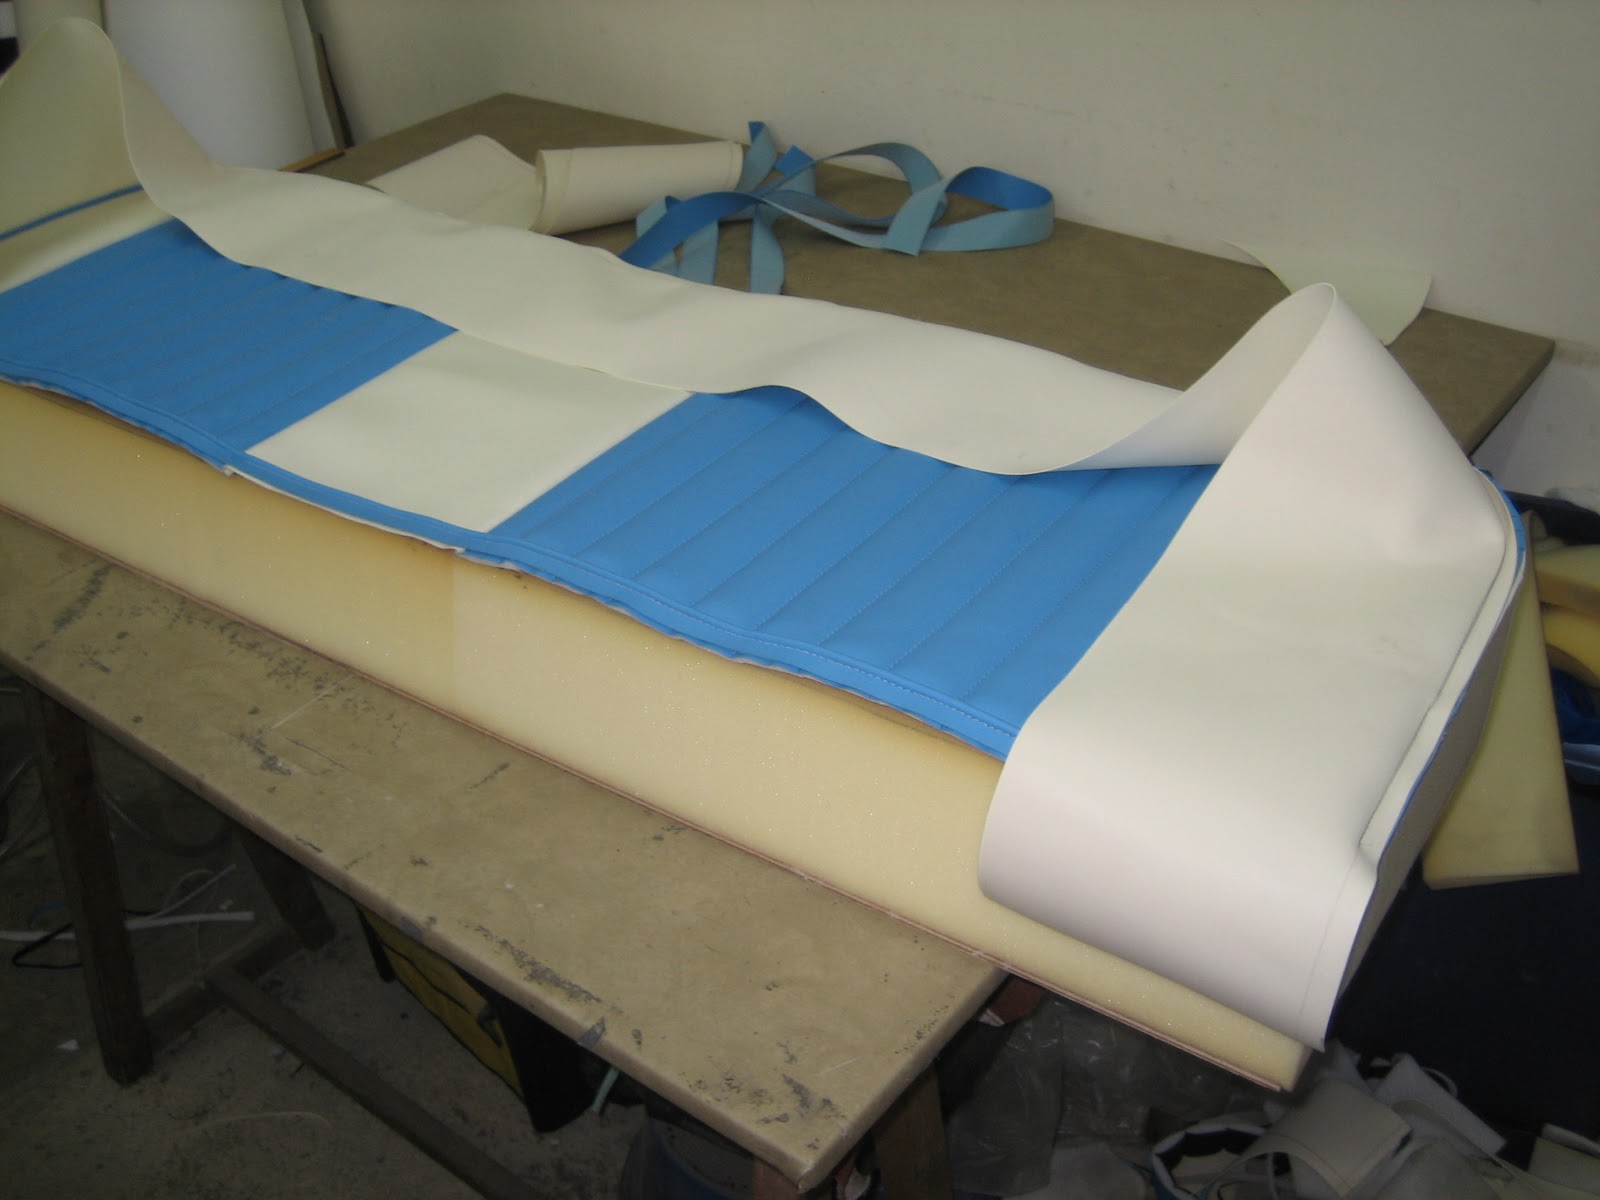
Almost done.....the last piece to go on is the back border,this then allows you to fix the covering to the base board.
The large rear cushion in place that makes up the bed when needed.

At the beach with a brew on.....mmm roll on summer.
How important i feel to get all the lines matching up, this makes the van.
The picture says it all..................
The full width rock and roll bed in all its glory....
Plain and simple but looks great in the real.......keep an eye out as I'm sure the table design will be seen on many more buses.....

The van in all her glory........ready for some show sleeping.................
A closer shot of the rear area showing the glove pockets.... i hope you liked the pictures and the info.... if you need any advice or prices on any of the above please feel free to contact me on : 07794978914
email : incavilla@aol.com
see you all soon Colin.


