Hi to you all hear is a seat out of a type 25 camper van. there is two front seats and rear rock and roll cushions, The customer has chosen some very nice colours which match his van. Have a read and see what you think.................

This is the seat before the strip down,, looking old and worn out. Lets make it all new.....

Taking the back apart was quite a hard job...and remembering how it all goes back together, I always take plenty of pictures.

 The seat cover removed ready for me to unpick and use for a pattern to cut the new covering by.

Hear you can see the rear cushions layed out ready for new foams to be cut and new covers to be made.....Its very important at this stage to get your measurements correct.....


Above is the seat cover all sewn and ready to be put on........

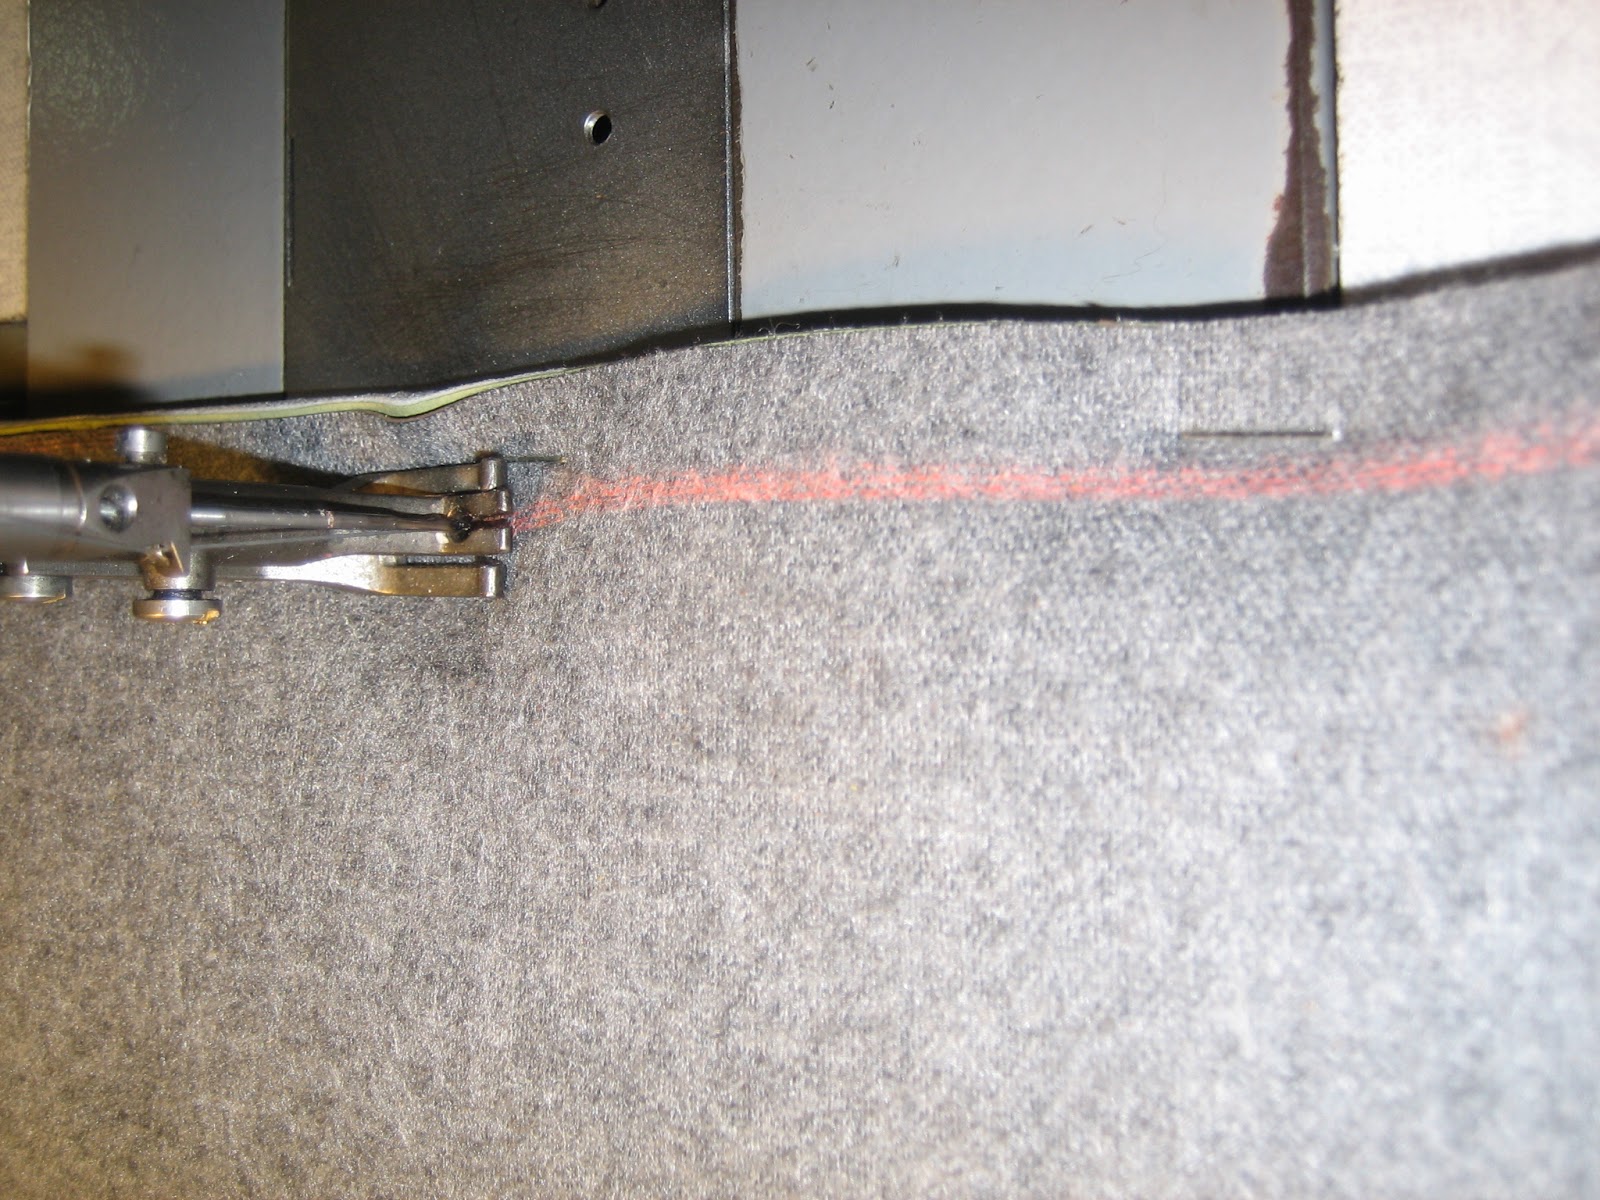
Hear is a close up of the sewing line marked out ready for sewing....this make the sewing process a lot easier.

This is a finished top of a seat..... showing the tuck and roll style chosen,This is now ready for the side boarder to be sewn on.............
 The seat foam swab was in good condition but i put extra foam on the side areas to give the foam a little uplift.

Hear you can see the seat with the boarder all sew on and ready to fit.You can see the card sewn round the bottom edge. this is for the finishing allowing the cover to be fixed to the frame work of the seat.

All done........the finished item looking good with a nice tight fit you can see the contrast center with the contrast piping to match.....nice choice.
 The finished seat......looking good and with the original head rests being kept but the match in well with the rest of the trimming.

Hear you can see both front seats done and ready to fit to the van....Matching pair.....cool.

Now on the the rear rock and roll cushions.....and buddy seat ( to the left ).I have taken of all the old coverings ready for me to measure and cut the new material.Its important at this stage to make sure you get all the cushions in the right order......As you will see later .

A small step on with all the covers cut and sewn This shows the main cushion being checked before fitting to the new foams . If you would like to see the process i used to make these cushions please look in my earlier BLOGS which shows you this process....thanks.


A bit different....The buddy seat done all in green with a brown side boarder......looking great to.....

This is a photo showing the seat and back lined up and you can see it looking good even when it is in the seating position...


Smile ...for the family shot....loll. All done and ready for the customer to come and pick up. I am sure he will like what he sees.....Well that's all for now but keep looking for mere projects coming soon if i can help please contact me any time on my telephone number : 07794978914
Cheers Colin.


This is the seat before the strip down,, looking old and worn out. Lets make it all new.....

Taking the back apart was quite a hard job...and remembering how it all goes back together, I always take plenty of pictures.


This is some of the seat boarders cut and layed out ready to be sewn.....


Above is the seat cover all sewn and ready to be put on........


Here they all are ......ready to be used......I love the way the tuck and roll all lines up and you can see now how important it is to get this right at the planing and cutting stage,


This is a photo showing the seat and back lined up and you can see it looking good even when it is in the seating position...


Smile ...for the family shot....loll. All done and ready for the customer to come and pick up. I am sure he will like what he sees.....Well that's all for now but keep looking for mere projects coming soon if i can help please contact me any time on my telephone number : 07794978914
Cheers Colin.


 e
e


