Search This Blog

Wednesday, 26 October 2022

1962 CANTERBURY CONVERSION SPLITIY

Hello and a happy new year to you all..... hope you all over Christmas and ready to break your new year resolutions.... well lets get going on this years projects...below is the second of Mike's split screens..its a 1962 very unusual early Canterbury conversion.....below are some pics and info on head lining's and window surrounds. Following on from that is some photos of the pop top removed from the van ready to be striped down.....there's a lot more to follow on this van so keep looking and please pass my blog onto every one you know.... thanks Colin.
you can contact me on :
tel : 07794978914
email : incavilla@aol.com
 
These are some pics of Mike's head lining and rear window surround cloth going in...... this job is very time consuming as there were no fixing hooks to finish to.....had to glue down and will be finished with curtain track to hide the joins...hope you like.


This is from the rear looking forward......as you can see a lot of gluing and re adjustment going on.....


looks like snow in the pics....it was out side the workshop...IN CORNWALL....but this was some dust settling from the bodywork going on....o what fun.....


A mean looking photo...paint on and ready to go...with the lining.


This is the top laid out on my table .with windows and curtains all still in place.

 
The top open slightly so i can get a feel for how to tackle this job.


A closer look at the lower edge, this showing a plain green strip which hides the lower frame when closed...will be a neat job when done....

 
All of....the canvas removed ready for the body shop to strip back further ready for some paint...
keep looking for more updates...by by for now....Colin


BAY WINDOW DEVON POPTOP............

Hi again here are some pics of a pop top that I fitted for a customer, this was pre brought by them...........I usually custom make my own pop tops but this was already with the van when they got it, so why waste it...........also showing fitting a ribbed roof lining cloth to the inside. This cleans up the inner roof but also helps reduce condensation and noise, also helps insulate.
please contact me on : 
tel : 07794978914
email : incavilla@aol.com

 
This shows a close up of the inner top , what a mess, but we can do magic.


The glue goes on, this is done in stages to allow for the glue to set and make sure of no mistakes. The glue used is a high temperature impact adhesive
.

A wide shot showing all the rods, eyelets and fixing points you have to cut round........!!!!! head pain.


All done, taken a whole day to get this inner lining alone right but I rather take my time and get it right.


This shows the pop top in place and fitted for the first time, needs more adjustments to get it right.


All done, this is a free folding top and care needs to be taken when closing the top down as damage can easily be done.
Hope you liked and keep looking I'll up date you as more projects come in..........
thanks 
Colin

full width rock and roll bed

Hi to you all, these are some pictures of this full width rock and roll bed re-trimmed in black leather I hope you like what you see.
please contact me on : 
tel : 07794978914
email :  incavilla@aol.com

. This shows the foams all cut to shape and fitted to frame to make sure all is ok.

Next we shape the foams and mark out the design for the leather. once happy with this I cut the leather.... The leather all cut and ready to be sewn, each panel is marked and sewn to each other to make the cover complete...... like a giant jigsaw puzzle.

All done as if by magic much care and time is needed to get the end result that makes the look I was looking for.

There all done, lining up lovely....just needs a clean down and then ready to be put into the van.

In the van and working great, another bed ready to be christened......

the third cushion folding away, very neat.
job done thanks every one.

Looking good well I'm of for a good drink and hope to show you some more pics and info on further projects soon.
Colin.

YELLOW & WHITE BAY WINDOW HEAD LINING..............

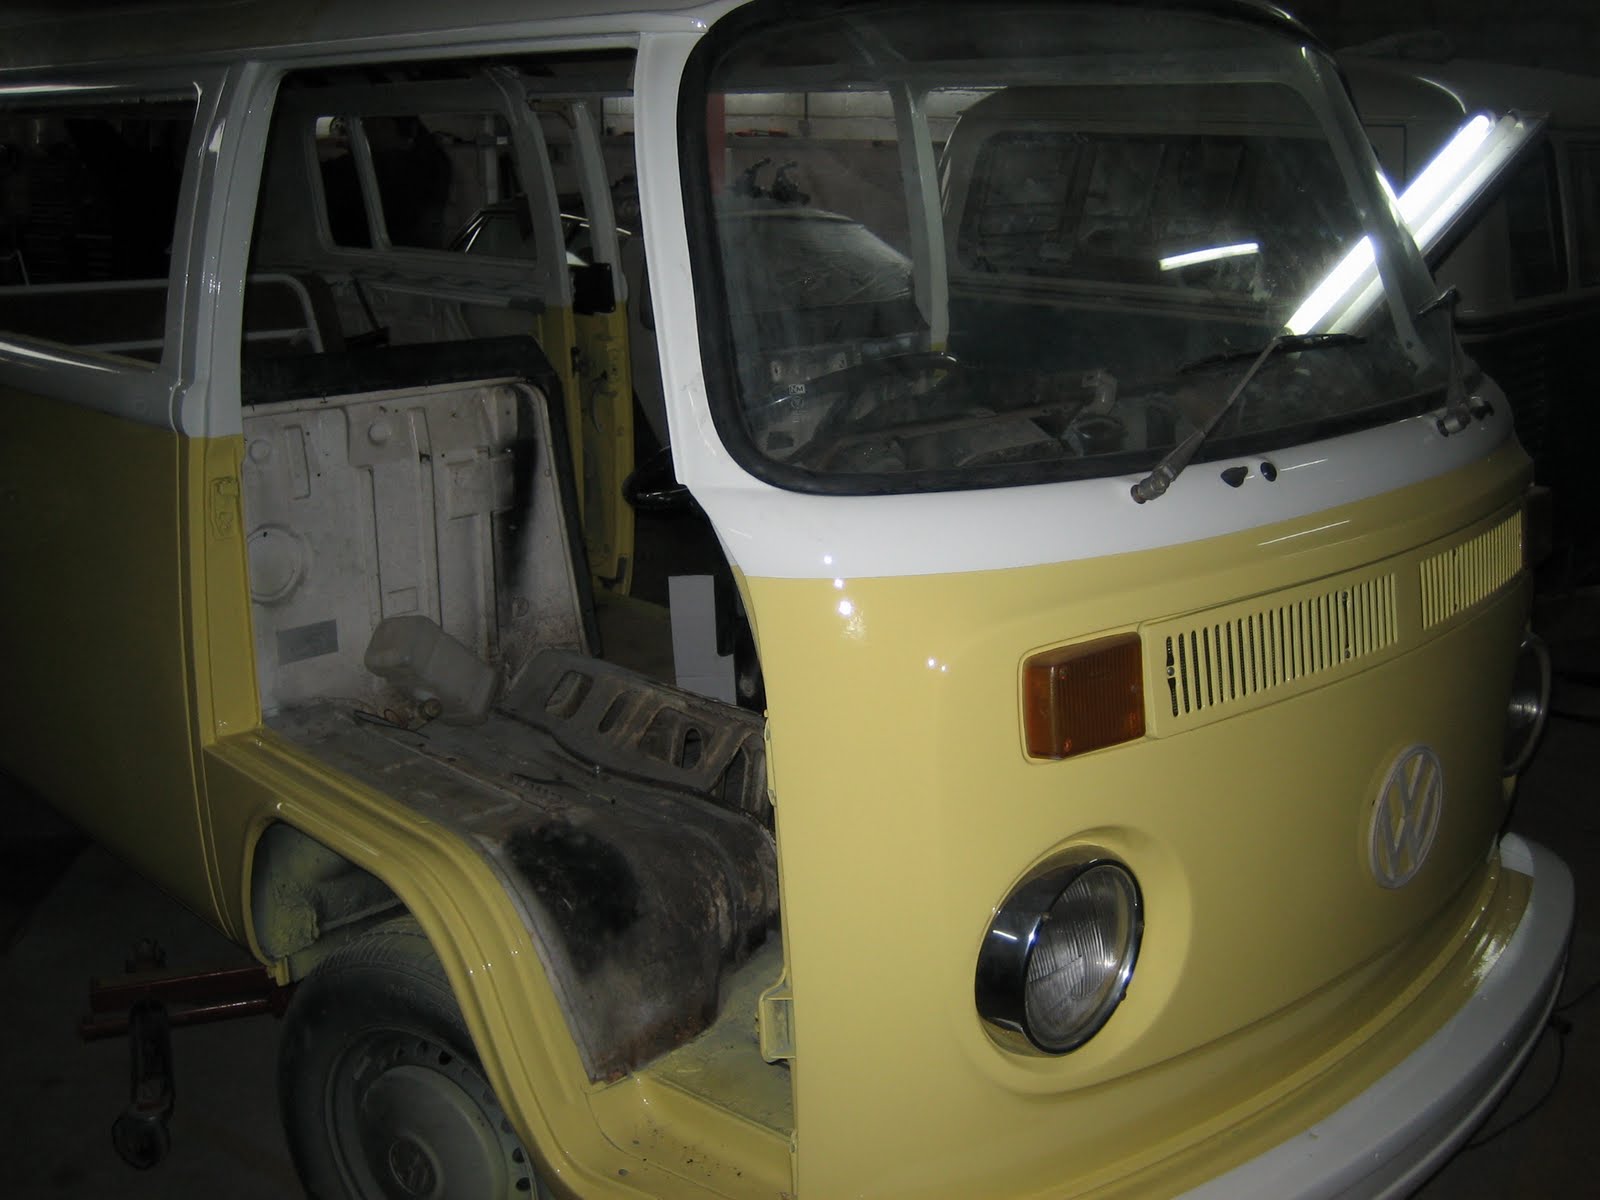
Hi to you all, this is a few pics I've taken of a cab roof lining that I've just finished it shows the van striped down and ready for the lining to go in. I hope you find them interesting and if you need any info on cost or help on how to install your own lining please contact me.
tel : 07794978914
email : incavilla@aol.com 
 thanks Colin.


Getting stripped down ready for upholstery.


  Now you can See how the bus is getting there.


The cab area ready for the lining , I first have to clean the area then insulate with sound proofing before the head lining goes into place.


The  new cab lining all cut, sewn with the tension rods fitted.


And in it goes, well after a few hours or work and a few cups of tea,
this was a bit more tricky as it had to be done with the front window in place.
hope you enjoyed see you all soon .
Colin

1962 SPLIT SCREEN MIDDLE BENCH SEAT

These are some photos showing the process of striping down Mikes bench seat, then cleaning the frame, painting, cutting the cover and the process to the finished item. I hope you like the photos and I'm now onto the next project keep a look out for the next blog.


This is the final picture showing the bench seat in the van. I think the final look of the van looks great hope you like.

please contact me on : tel : 07794978914

email : incavilla@aol.com

thanks Colin

MIKES POPTOP IN MORE DETAIL...........

Hello to all of you ...this is an update on Mikes pop top canvas fitting, these are some of the steps taken during the cutting, sewing and fitting process....theres a lot more than I can show (like cups of tea), but I hope you like and if you need any help please feel free to ring me, thanks again for you time and enjoy....Colin. Laying out the old pop top fabric as patterns for the new one to be cut from, great care and attention at this stage check and double check.

 
All cut and ready to sew........with the canvas such an expensive fabric great care to detail when cutting and sewing....one mistake and all wasted and start again.

Just a close up of the markings that I use"x" marks the panels matching and the line to line up by.........

 
Well this is the pop top ready for the new canvas to go on........a good scrub and looking new inside, the top has a fresh layer of paint.

 
Putting the canvas in place ready for fitting, the rivets used are extra long to allow for the aluminium strip which is the main tension spreader and keeps all in place.

 
There all fixed, all that needs to be done is trimming the excess canvas of and sealing to stop any water leaking in,.

 
In place for the first time.......a few more hours of adjusting and trimming to get it looking right. The lower part of the canvas is fitted in the same way as shown previously, fitted inside are the tension bars to hold the canvas to its shape.

 
A different angle.........showing of the new paint and the pop top...... It is  going to look great when finished, Keep looking out for more updates on this job as still many more hours work before she is complete.
please contact me if i can be of help : tel : 07794978914
email : incavilla@aol.com

FIRST BLOG OF TRIMING WORK.

Hello and welcome to my new Blog. Please check back regularly to see detailed pictures from my new Trim Shop  Truro Cornwall. Below are a few pictures from the interior of a split screen bus I am working on . 


 This is a picture of the front seats trimmed and fitted in mikes van , the two tone leather cloth looking good. 


The back of the front seat ready to be fitted into the van.  this shows some parts of the trimming ready .
hope you liked the photos. 
you can contact me on : 07794978914
email: incavilla@aol.com