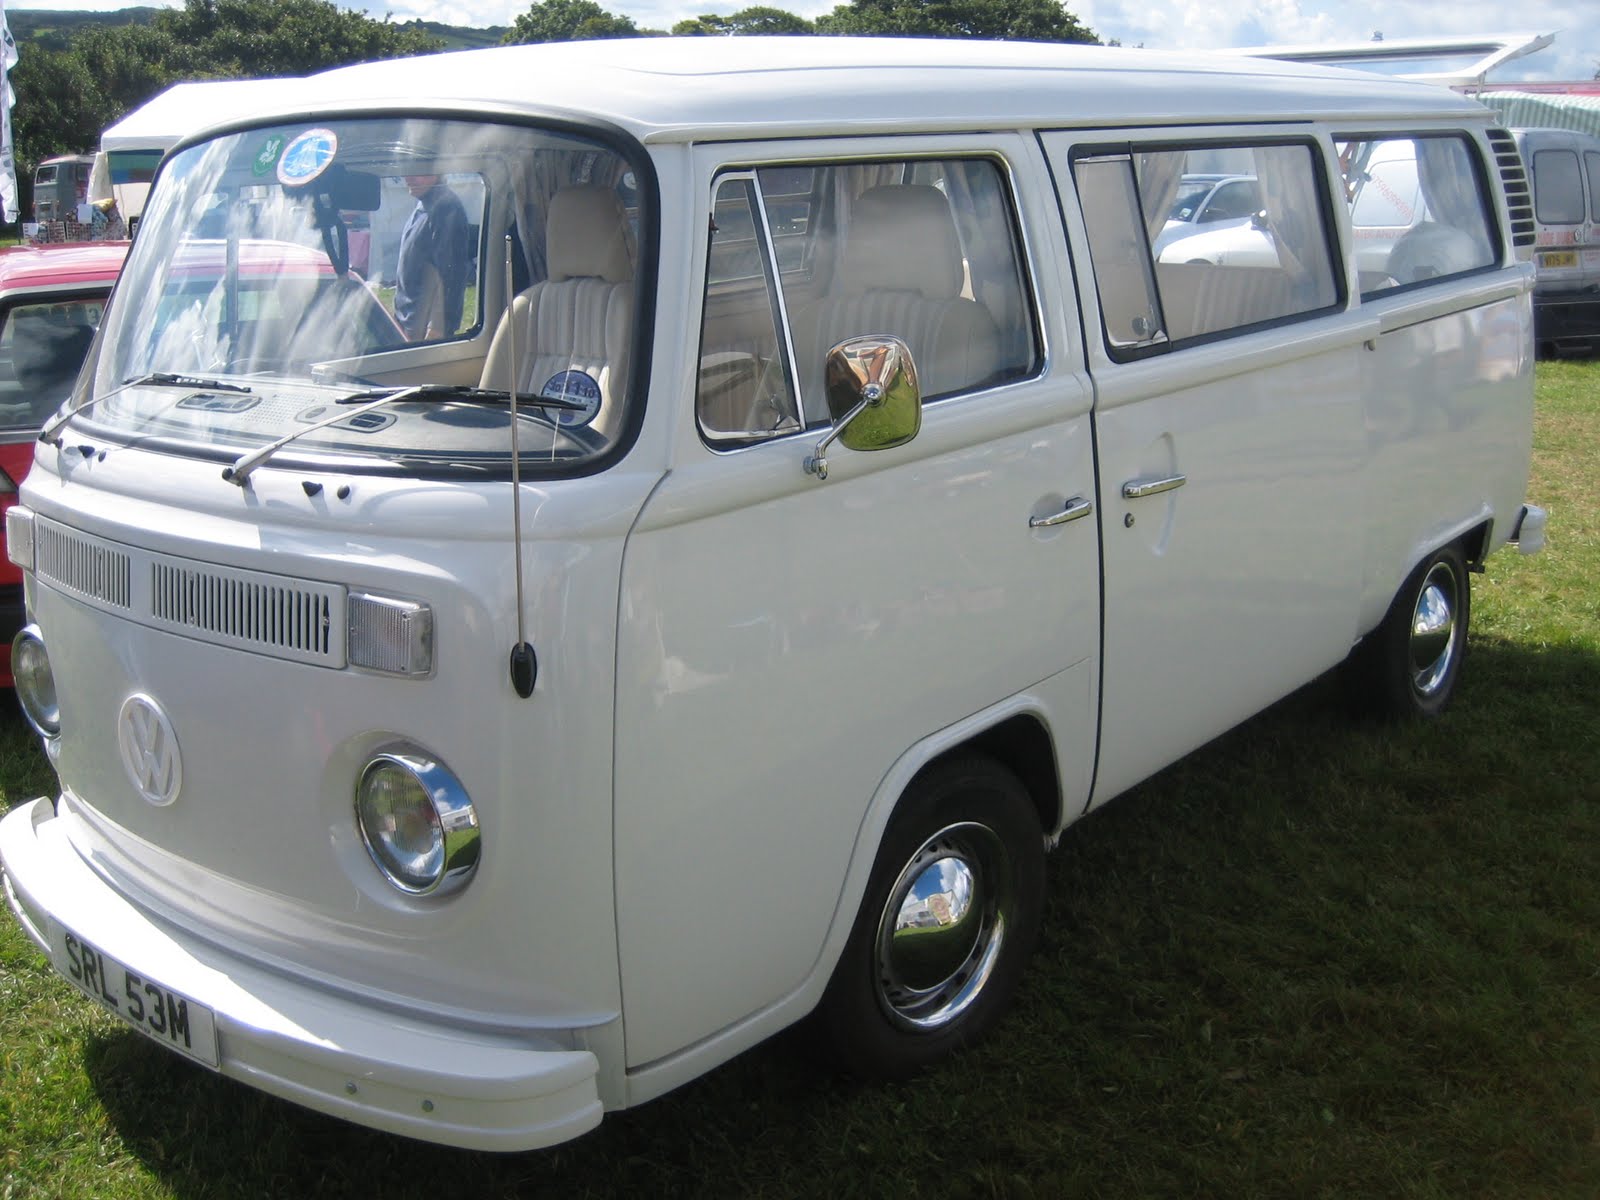
this is a bit different to the usual camper vans as this one has still got its original tin top roof.....and very nice it is to. You will see some pictures of the van as i do the complete through head lining.......looking forward to getting into this one.
Bellow is the first part : the front seats, as you can see they are not the original seats and they are very worn out......but hay scroll down and see what you think....enjoy.

As you can see the old seat is in need of help....but they are very comfy seats.so well worth the work.

First stage was to remove the seats from the van and then dismantle them into there component parts and inspect them.

The under side of both the drivers seat and the passengers seats had the same problem.....over the years the tension rods that fixed to the springs had worn or broken. So the firs step was to strip down and repair this area.
 This is part of the process that I've show you before, I have striped down the covers and undone the stitching ,the panels are then used to cut the new cover with. All ways checking that the pattern is of a good fit so the new part will fit snug.


This shot shows the out side back panel being put together ,note the two panels clipped together so when sewn the stay in place, This is a common problem when sewing an people ask me all the time on how this can be stopped. Well you can hand staple like i have, pin them with needle work pins or have check marks, you can see I've done this as well doubly making sure that all lines up.


There all done. Note the strips lining up from the seat through to the back...i must as this was wrong the whole job would look naff.


I have cut the material to a over size then filled the centre hole in with foam and a over lay of canvas, this gives a smother feel.
 Ten a thin layer of foam.....all ready for the hard bit getting the material to shape .
 All done.... as you can see the head rest was finished of with a contrast but matching piping trim.

 This is part of the process that I've show you before, I have striped down the covers and undone the stitching ,the panels are then used to cut the new cover with. All ways checking that the pattern is of a good fit so the new part will fit snug.
A mixed shot showing the parts needed to make the seat swab cover, the piping, the boarder, and the top panel. As you can see the centre part of this seat is being done in a strip tweed type fabric..........it looks fab.

This shot shows the out side back panel being put together ,note the two panels clipped together so when sewn the stay in place, This is a common problem when sewing an people ask me all the time on how this can be stopped. Well you can hand staple like i have, pin them with needle work pins or have check marks, you can see I've done this as well doubly making sure that all lines up.

Almost done.......this is the inside back panel with the piping sewn on with the bottom loop waiting for the fixing rod to be slid in.

A little jump forward....this is the shot of the under side of the seat again...... this time looking as new, I hope you like the finished item.

There it is in all her glory......I'm very pleased with the look of the two types of material, cant wait to see them in the van.

The back also complete just waiting to be put back together.


Oops yep almost forgot..... the head rests.........as a trimmer these always cause Meany hours or filling the swear box and tons of cups of tea to get these right. well i have worked my magic and made these look better than new..... well i think so.

I have cut the material to a over size then filled the centre hole in with foam and a over lay of canvas, this gives a smother feel.
 Ten a thin layer of foam.....all ready for the hard bit getting the material to shape .
 All done.... as you can see the head rest was finished of with a contrast but matching piping trim.
All done ready to fit into the van a lot of hours to make this happen , but i hope you agree it was worth it.


There she is, looking like new and still a very comfy seats for many miles of driving.
I hope you liked what you have seen, as i said keep looking as the door panels and rear panels are the next items to be done.
contact me on : tel : 07794978914
email : incavilla@aol.com
See you all soon Colin.