Hello to you all,
I have been so busy trimming I've not had anytime to update the blog....anyway here is an update for you which include some beautiful buses for you to see .Below is a gorgeous vw split screen bus trimmed out for wedding hire......And WOW the customer wanted and WOW they got......After three weeks solid work and gallons of tea and biscuits the end result......I hope you like and if you have any questions please contact me on : incavilla@aol.com or tel : 07794978914..... Enjoy.......................

 This is a 1967 bus in all her glory......gorgeous colour and her name is BERNIE............................

 This is a photo showing the old seating frames, these frames were cut down and reused for the buddy seats.

 Front cab area before the strip down started, the front seats were in very good order but these were replaced to match the rest of the bus.
I have been so busy trimming I've not had anytime to update the blog....anyway here is an update for you which include some beautiful buses for you to see .Below is a gorgeous vw split screen bus trimmed out for wedding hire......And WOW the customer wanted and WOW they got......After three weeks solid work and gallons of tea and biscuits the end result......I hope you like and if you have any questions please contact me on : incavilla@aol.com or tel : 07794978914..... Enjoy.......................


A full width rock and roll bed was fitted, for the times when the new bride and groom cannot wait.....loll.
  |
Note:- All the new door cards no screws and cups were used.....This gives such a clean line and finish.


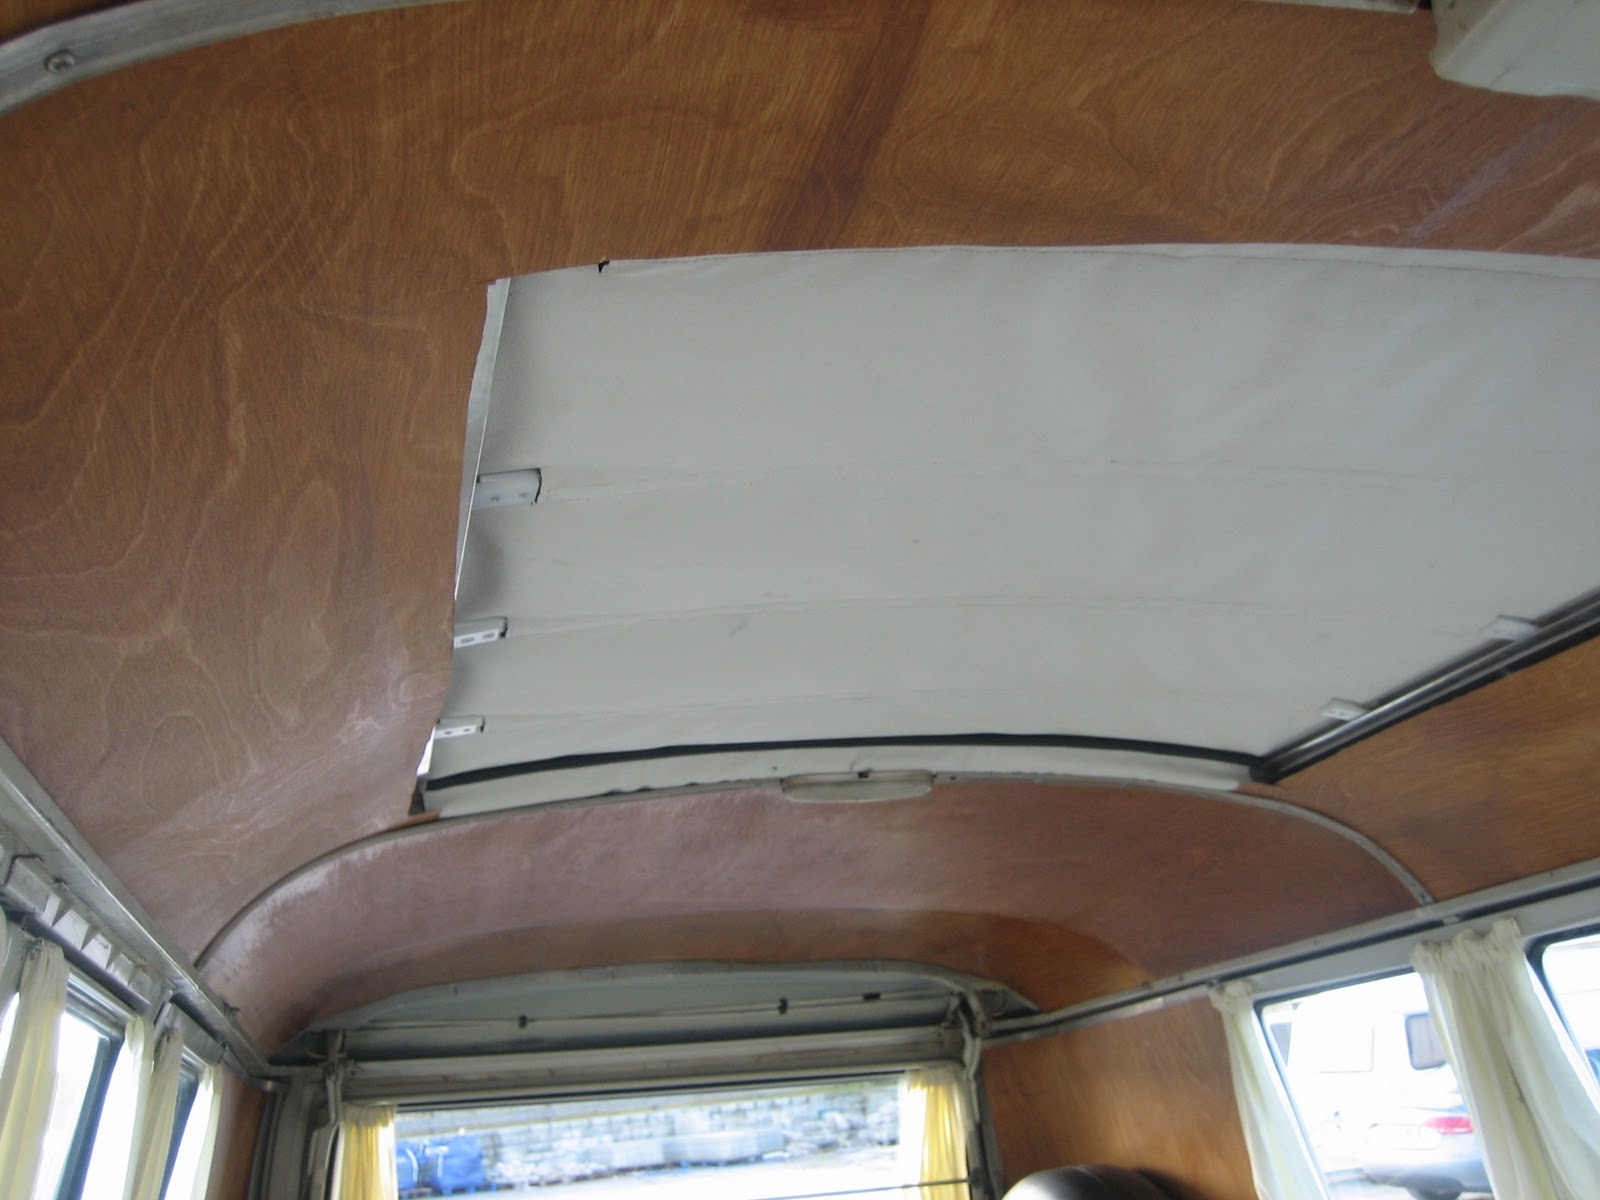

Here you can see the ply head liner, This was re used but it was covered in cream head lining cloth to match in with the plush wedding look .This bus had a small rag top which was in very good order and just a clean and was as good as new.


Here you can see some donor covers I used to template the design that the customer wanted. You can see the inner and outer style being worked out....... measure measure measure and in the end...............success.


This was the wow factor that complemented the leather so well. This was being foam backed ready for the stitching work to be done.


This is the reverse side of the centre panels The customer wanted diamond stitching style, You can see some adjustments were needed to get the sizes right, Once this was sorted all the other panels were much easier.


This is the finished centre panel ready to go into the leather outer section.....Tea time.............


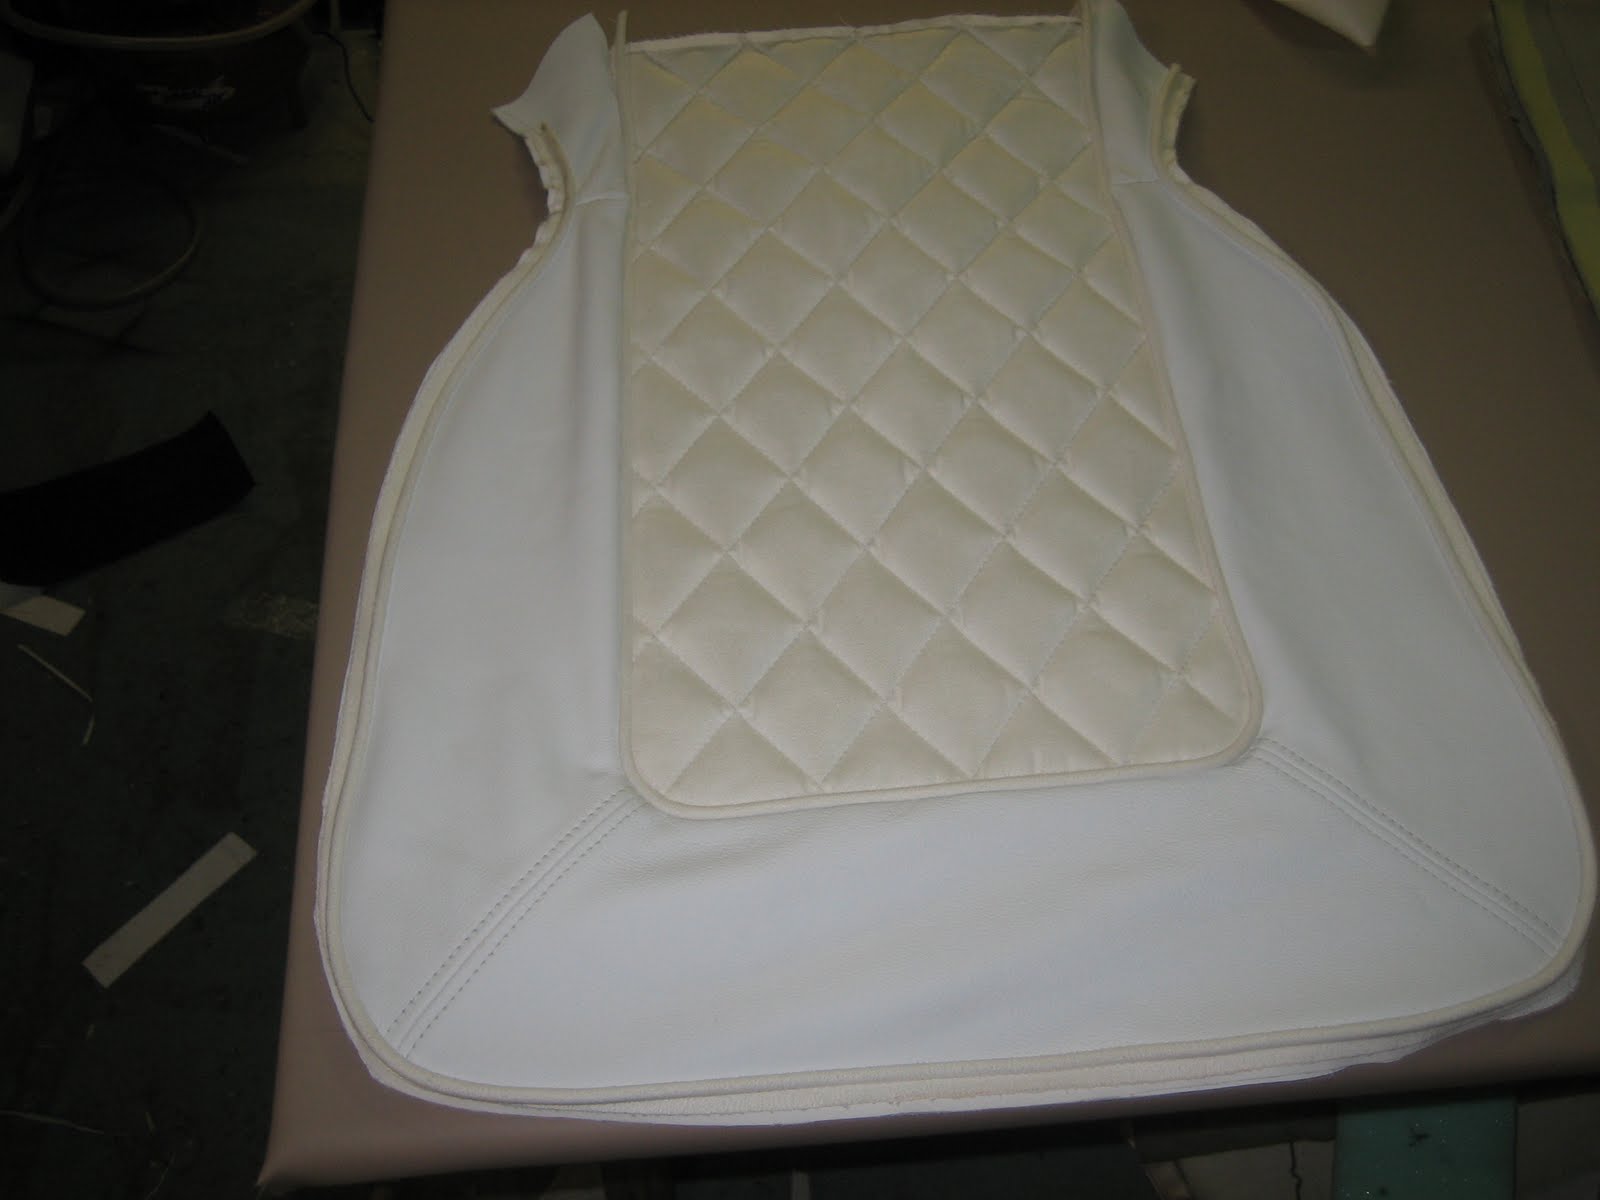
As if by magic........All sewn with piping added to create the sharp clean finish.


All on.....with double stitching seams for strength and it also finishes the look ........I LIKE.....cool


A different angle of the seat in the bus.... finished you can see the suede centre with the outer in leather with suede piping.

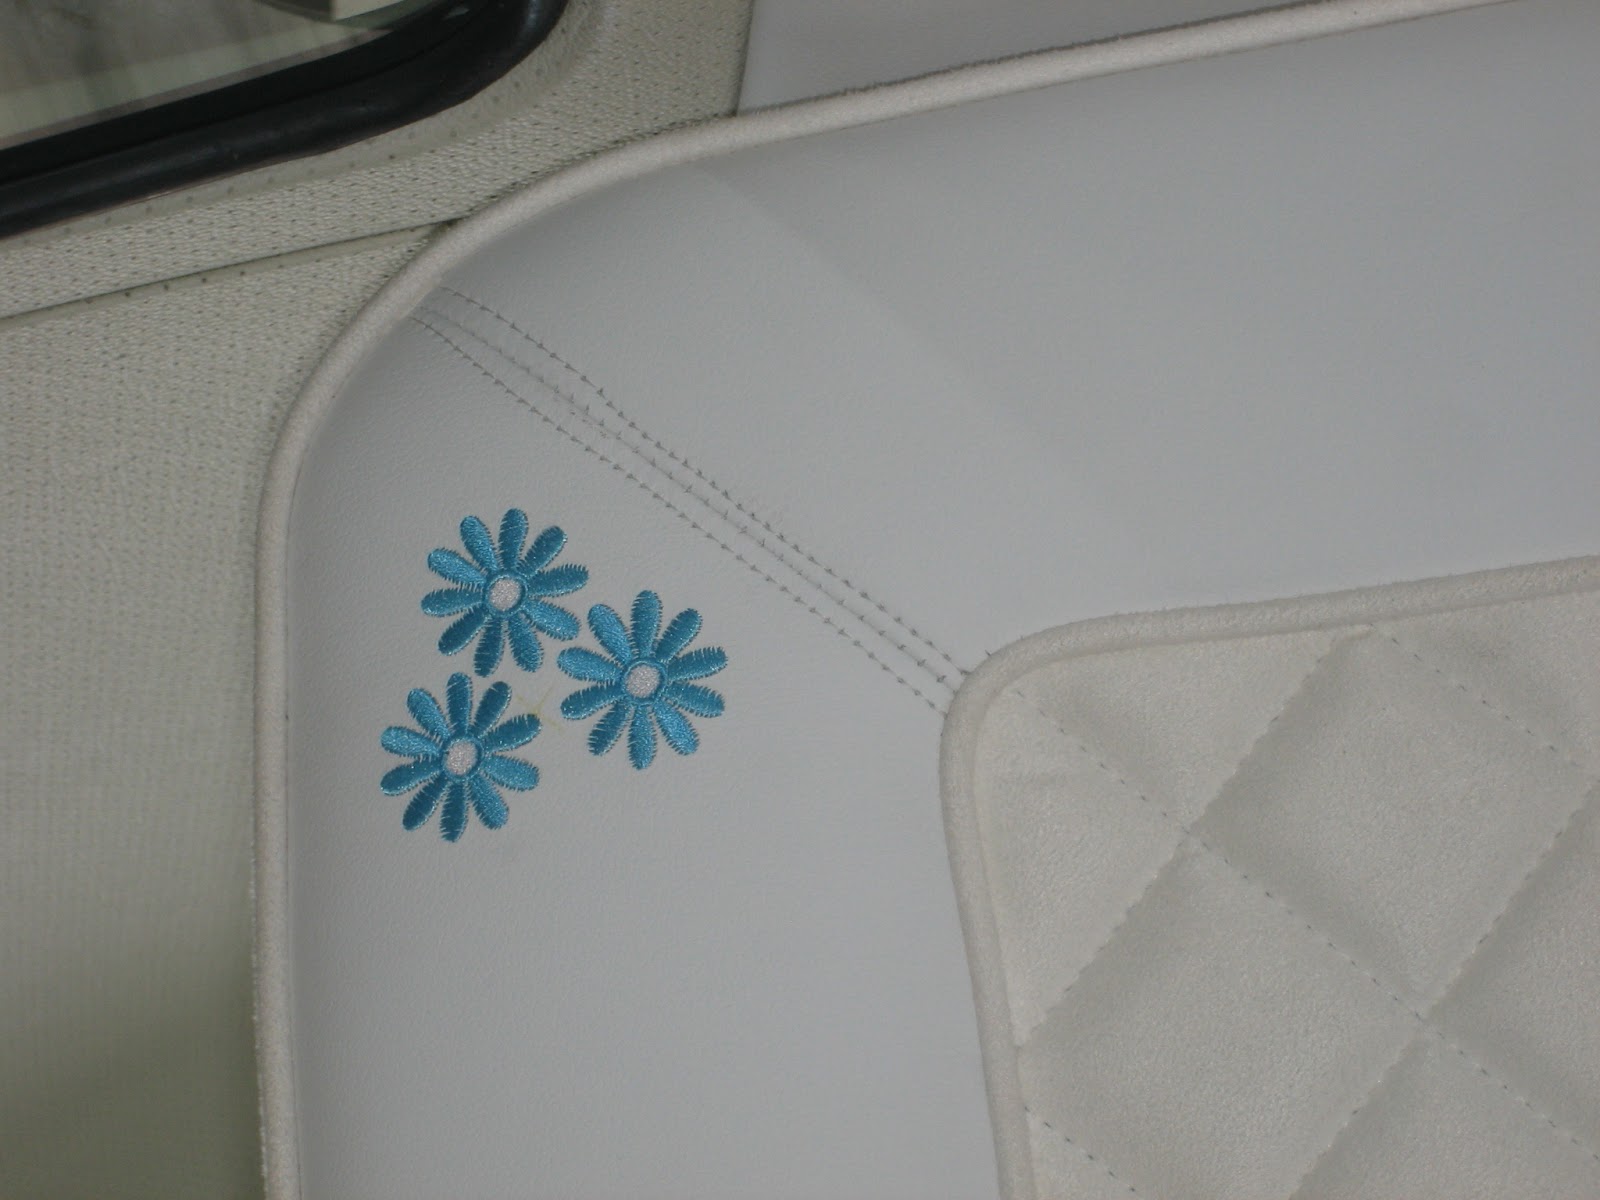
The back was much the same process but with the added touch of having 3 flowers embroidered into the back panel I think a nice touch....


All done... you can see the full width rock and roll bed in all its glory, with the detailed stitching / diamond style with the matching flower as the front seats...looking nice....

Here you can see the flower design in more detail... working out the style and colour which matches the outer colour of the bus makes the finishing touches.

This is the re used ply head liner lined with new white lining cloth then re fitted with new aluminium fitting strips.....makes such a great finish.


Even closer look at the name.....a great touch we can do to any ones bus or beetle.... just ask me for a quote and i be happy to help.


Above you can see a selection of pictures of the door cards trimmed in the same style and fitted to the bus.... it was important to get the scaling right for these to match the seating.....and note there are no fixing screws showing on this panels as some buses show, I use my special fixing way.... this helps keep that clean look to the whole job.

The front seats in all there glory..... with all the finished parts fitted around them......She looks great....

This shows the two rear facing buddy seats that were completely custom mad to fit the bus..... they were trimmed in the same style with lift of seats for storage.

Open wide........ All that's missing is the bride and groom.....wow what a job.... i hope you all like the pictures it was a lovely bus to work on.....


There you go ..... all done keep a look out for the next project Any job undertaken from the full on re trim as above to the small stitch repair . I you have any questions you can contact me on mail:- incavilla@aol.com
or tel : 07794978914
Cheers Colin


