Search This Blog

Sunday 19 September 2010

Bay Window Full Width Rock & Roll Bed

Hello to you all....I have uploaded these pictures of a full width rock & bed that i re covered in two tone leather cloth, I'm sorry that  I  cannot show any pictures of the make up as the computer ate them 
Still i hope you like these and if you have any questions please feel free to ask.
tel : 07794978914
email : incavilla@aol.com


This shows the bed laid out in all its glory.....I love the colour combination, it shows the bed of to its best.


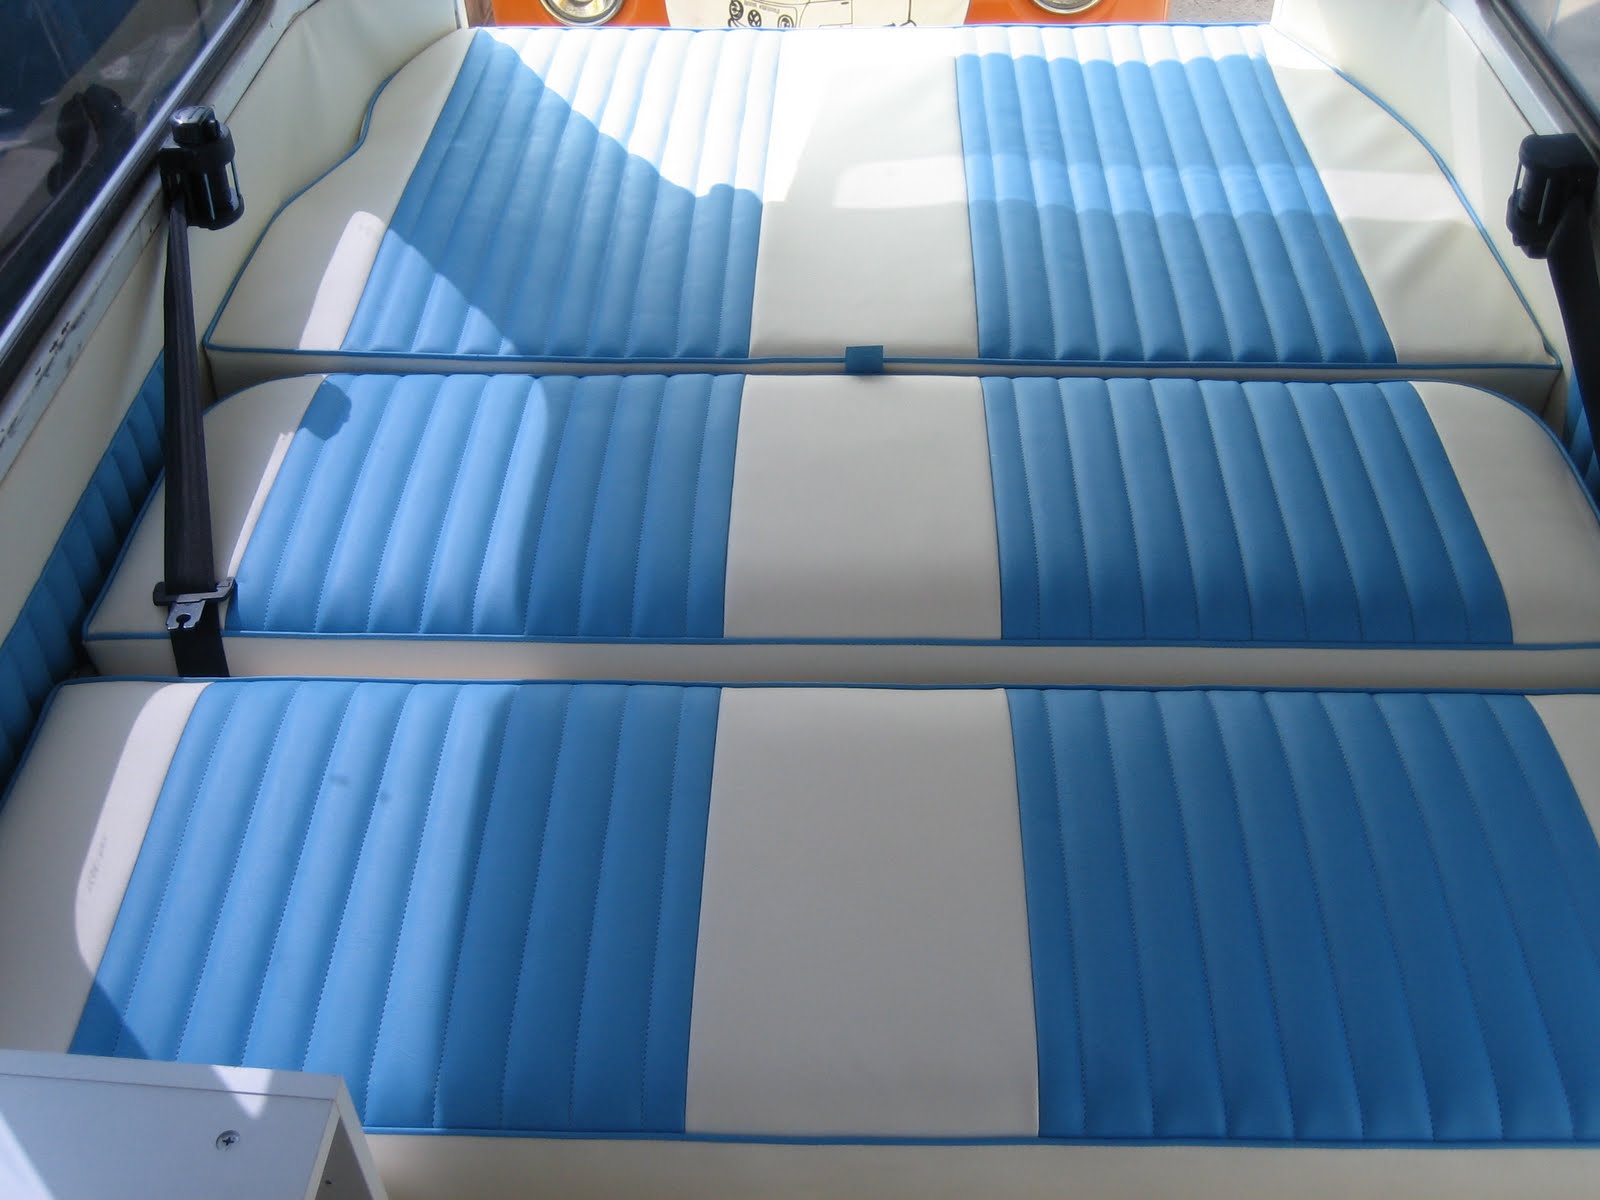
From above as if on top of the wardrobe  !!!! this shows about lining up the upholstery is all important.


With the bed in seat mode again all lining up with a nice contrast piping to finish.


You can see a gap in between the seat and back to allow the seat belts to feed through and if you look close there is a tab in the centre , this allows you to pull the bed back into seating mode

.


Last but not least ....the 3rd cushion ,this is a beast of a cushion filling the whole engine bay area but no bed would be complete without it. I hope you liked the pics is you are passing call in and say hi .
thanks Colin

Type 25 Cab Head Lining


Hello to you all hope the summers been good to you all ?. bellow are some pictures showing the steps of fitting a front head lining to a type 25  hope you find them interesting.... i had a few swears at this one , but all come good  ENJOY.
you can contact me on : 
email :  incavilla@aol.com
tel : 07794978914


This shows the head lining all made up and with the support bars in place. note the contact glue along the front edge.... this was put on just before fitting as this can be a messy job in the cab area.


This show a view from the rear looking forward. Note the sound proffer foam put in place.... this helps reduce noise and insulates at the same time.


This shows the lining being tensioned all around. the secrete to this is not to over tighten the cloth when fitting and Patience, if you try to fit all in one go it will not work small adjustment are the best.


The rear lining finished in the grove on the van. tension is then pulled forward to the front corners then work from the middle out, this is getting there slowly.


Almost there, you can see the front now finished all the surplus lining was trimmed of then tucked under the front screen rubber.


All done....... ready for the sun visors to be fitted along with the rear view mirror time taken to fit this was about 3hrs but if you are fitting one yourself time is yours so slowly dose it as one wrong cut and ... start all over again. I hoped you liked this short blog keep looking as more to come.
thanks Colin,